If you’re a plant enthusiast, you’re likely familiar with spider plants. These charming and adaptable houseplants are known for their air-purifying qualities and easy care. One of the exciting aspects of having spider plants is propagating them from their babies, known as “pups.” Discover how to repot spider plant babies and embark on a rewarding journey that expands your plant collection and lets you share the green goodness with others. Our guide provides a step-by-step process for repotting spider plant babies, ensuring their healthy growth and longevity.
Table of Contents
Introduction
Spider plants, scientifically known as Chlorophytum comosum, are popular for their striking appearance and air-purifying abilities. How to repot spider plant babies is a wonderful way to expand your plant collection while giving your babies the space they need to thrive.
Gathering Your Materials
Before you embark on this repotting journey, gather the necessary materials:
- A new pot with drainage holes
- High-quality potting mix
- Watering can
- Pruning shears
- Small shovel or trowel
- Spray bottle (for misting)
- A mature spider plant to learn from
Identifying Spider Plant Babies
Spider plant babies bear a striking resemblance to miniature versions of the mature plant, boasting arching leaves and delicate, intricate roots. These adorable offspring usually take shape at the terminus of elongated stems, commonly referred to as “runners,” which gracefully extend from the parent plant. Understanding the anatomy of spider plant babies is crucial to mastering the art of how to repot spider plant babies. By recognizing their growth patterns and unique characteristics, you can ensure a successful propagation process and foster their development into healthy, thriving plants.
Understanding the Anatomy of Spider Plant Babies: A Key Step in Learning How to Repot Spider Plant Babies
4.1 Preparing the New Pot
Choose a pot that is approximately one size larger than the current one. Ensure it has drainage holes to prevent waterlogging.
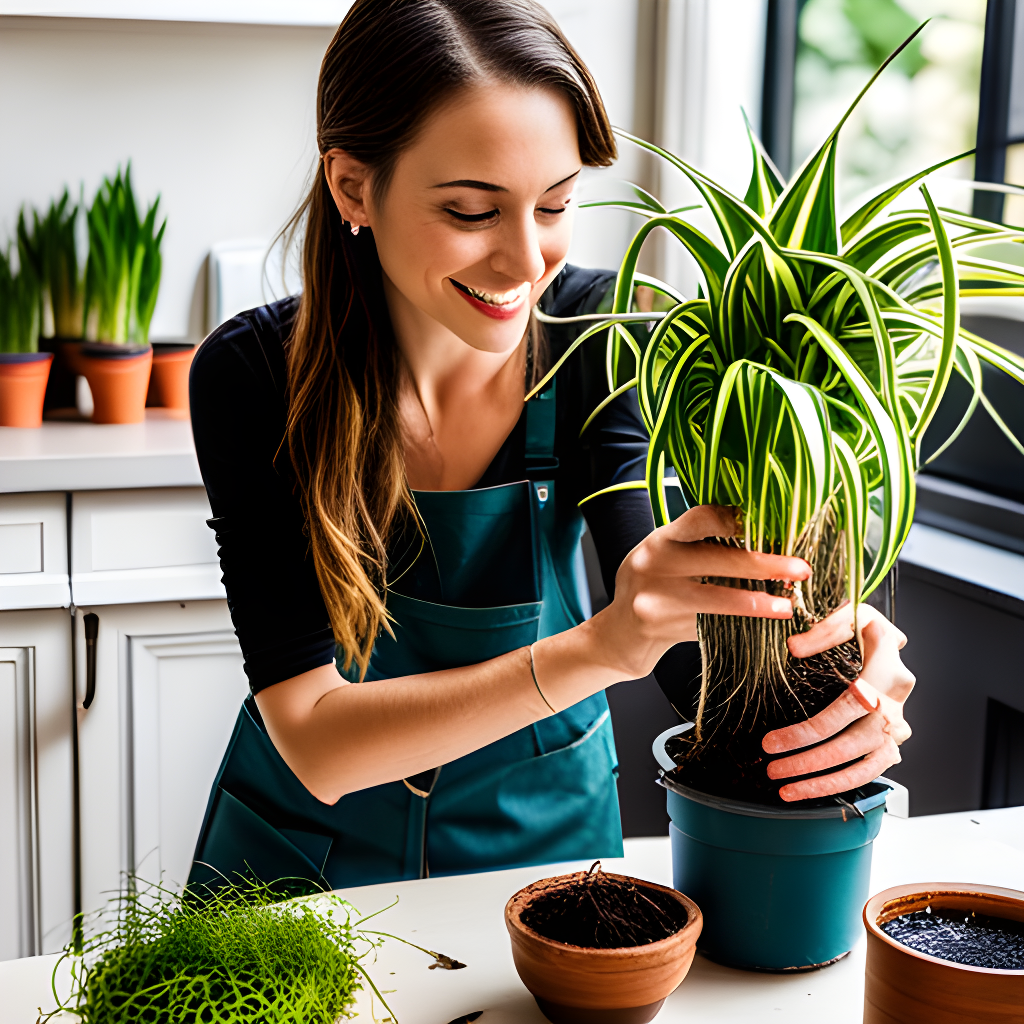
4.2 Removing the Spider Plant Baby
Gently remove the baby from the runner once it has developed a few inches of roots. Use pruning shears to cut it free.
4.3 Inspecting the Roots
Check the roots for any signs of damage or disease. Healthy roots are firm and white, while rotting roots are brown and mushy.
4.4 Placing in the New Pot
Position the baby in the center of the new pot and fill in with potting mix around it. Make sure the base of the baby is level with the rim of the pot.
4.5 Backfilling with Soil
Carefully backfill the potting mix around the baby’s roots, gently pressing it down to eliminate air pockets.
4.6 Watering the Repotted Baby
Thoroughly water the repotted baby, allowing water to drain from the bottom. Mist the leaves occasionally to increase humidity.
Caring for Repotted Spider Plant Babies
5.1 Light and Location
Place your repotted spider plant baby in bright, indirect light. Avoid direct sunlight, as it can scorch the leaves.
5.2 Watering Routine
Water the plant when the top inch of soil feels dry. Ensure the pot has proper drainage to prevent overwatering.
5.3 Fertilization
Feed your spider plant baby with a balanced liquid fertilizer once a month during the growing season.
5.4 Pruning Tips
Remove any browning or yellowing leaves to encourage healthy growth and maintain the plant’s aesthetic appeal.
Common Issues and Troubleshooting
6.1 Root Rot
Overwatering can lead to root rot. Allow the soil to dry out between waterings and ensure proper drainage.
6.2 Yellowing Leaves
Yellow leaves may indicate overwatering or inadequate light. Adjust your care routine accordingly.
6.3 Stunted Growth
Insufficient nutrients or root-bound conditions can cause stunted growth. Repot if the plant becomes root-bound.
Frequently Asked Questions
- Can I repot multiple spider plant babies in the same pot? Yes, you can group them together if the pot is large enough.
- How often should I repot my spider plant babies? Every 1-2 years or when the pot becomes crowded with roots.
- Why are the tips of the leaves turning brown? Browning tips could be due to dry air. Increase humidity by misting or using a humidity tray.
- Is it normal for spider plant babies to have small white flowers? Yes, spider plants occasionally produce small white flowers, especially when they’re mature.
- Can I use regular garden soil for repotting? It’s better to use a well-draining potting mix to prevent waterlogging.
Conclusion
Engaging in the process of repotting spider plant babies is not only rewarding but also offers you the unique opportunity to cultivate new life and witness its flourishing transformation. As you delicately handle each plant, carefully transferring it to its new home, you become an active participant in its growth journey. This act of nurturing goes beyond the mere act of transplantation; it symbolizes your dedication to fostering life and vitality.
By comprehending the intricacies of how to repot spider plant babies, you empower yourself with the knowledge needed to guide these young plants towards their optimal development. Every step, from selecting the appropriate pot to ensuring well-draining soil and the right amount of water, plays a crucial role in their future well-being.
With each passing day, as you provide them with the care they need, your spider plant babies will gradually evolve into vibrant, lush entities that not only contribute to the aesthetic appeal of your indoor space but also contribute to cleaner, healthier air. The graceful arches of their leaves, the resplendent green hues that radiate vitality, and the refreshing atmosphere they create collectively make them invaluable additions to your indoor jungle.
So, embrace this journey of nurturing and growth. As you observe your spider plant babies thrive under your guidance, you’ll find a sense of fulfillment and satisfaction that only comes from playing a vital role in the flourishing of new life. Your commitment, combined with the knowledge you’ve gained on how to repot spider plant babies, paves the way for a verdant and vibrant indoor environment that you can proudly call your own.